How to Make Perfect Panini Bread at Home

Discover the secret to soft, crispy Panini Bread you can easily make at home with this easy, step-by-step recipe. Whether you’re craving a hearty sandwich or just love fresh, homemade bread, this recipe will guide you to bakery-quality panini bread that’s perfect for grilling, stuffing, or simply enjoying fresh out of the oven.
Why You’ll Love This Recipe
- Simple Ingredients: Uses everyday pantry staples that create a rich, flavorful bread perfect for all your panini needs.
- Perfect Texture: Balances a soft interior with a satisfyingly crispy crust, ideal for grilling or toasting.
- Customizable: Easy to tweak and adapt according to your taste preferences or dietary requirements.
- Great for Beginners: Clear, step-by-step instructions make it accessible even if you’ve never baked bread before.
- Impress Your Guests: Homemade panini bread elevates any sandwich and makes lunch feel special.
Ingredients You’ll Need
Each ingredient plays a crucial role in crafting the perfect Panini Bread. From the flour that gives body to the beverage quality of the crust, these simple components combine to achieve soft, crispy goodness.
- All-Purpose Flour: The foundation of the bread, providing structure and chewiness.
- Warm Water: Activates the yeast and helps develop the dough’s softness.
- Active Dry Yeast: Responsible for the rise and airy crumb of the bread.
- Olive Oil: Contributes moisture and a subtle richness to the bread’s texture.
- Sugar: Feeds the yeast, promoting a better rise and caramelization in the crust.
- Salt: Balances flavors and controls yeast fermentation to enhance taste.
Variations for Panini Bread
Feel free to personalize your Panini Bread to fit your flavor favorites or dietary needs. Adjusting ingredients or adding extras is simple and rewarding.
- Herb-Infused: Add rosemary, thyme, or basil to the dough for a fragrant twist.
- Gluten-Free: Substitute with a gluten-free flour blend designed for bread-making.
- Whole Wheat: Swap half or all-purpose flour with whole wheat for a nuttier, denser bread.
- Cheese-Stuffed: Incorporate shredded cheese inside the dough before baking for melty pockets.
- Spicy Touch: Mix in red pepper flakes or garlic powder for a hint of heat.

How to Make Panini Bread
Step 1: Activate the Yeast
In a bowl, combine warm water (about 110°F) with sugar and the active dry yeast. Stir gently and let it sit for 5-10 minutes until foamy and bubbly, indicating the yeast is alive and ready to work.
Step 2: Mix the Ingredients
In a large mixing bowl, combine the flour, salt, and olive oil. Slowly pour in the yeast mixture and begin mixing with a spoon or your hands until a rough dough forms.
Step 3: Knead the Dough
Transfer the dough to a floured surface and knead for about 8-10 minutes until it’s smooth, elastic, and slightly tacky but not sticky. Proper kneading is crucial for gluten development, which creates the bread’s structure.
Step 4: First Rise
Place the dough in a lightly oiled bowl, cover with a clean kitchen towel or plastic wrap, and let it rise in a warm place for about 1 to 1.5 hours or until doubled in size.
Step 5: Shape the Dough
Once risen, gently punch down the dough. Shape it into a rough rectangle or oval, depending on your panini press or sandwich preferences.
Step 6: Second Rise
Place the shaped dough onto a baking sheet lined with parchment paper, cover again, and let it rise for another 30-45 minutes to develop its airy texture.
Step 7: Bake the Bread
Preheat your oven to 425°F (220°C). Bake the dough for 15-20 minutes until the crust is golden brown and crisp. For an extra crusty finish, you can spray water or place a pan of water in the oven to create steam.
Step 8: Cool and Enjoy
Remove the bread from the oven and let it cool on a wire rack before slicing and using it for your favorite panini sandwiches.
Pro Tips for Making Panini Bread
- Use Fresh Yeast: Always check the expiration date on your yeast to ensure your bread rises perfectly.
- Monitor Dough Consistency: Dough should be soft but not sticky; adjust with small amounts of flour or water as needed.
- Warm Environment: For rising, a slightly warm spot helps yeast activity—try your oven with the light on or near a sunny window.
- Don’t Rush Rising: Adequate rising times develop flavor and texture, so be patient with the dough.
- Steam for Crust: Adding steam in the oven creates that desirable blistered, crunchy crust typical of panini bread.
How to Serve Panini Bread
Garnishes
Top your sliced panini bread with simple spreads like garlic butter, fresh herbs, or a drizzle of olive oil before grilling to enhance flavor and add a gourmet touch.
Side Dishes
Pair your panini sandwiches with fresh salads, roasted vegetables, or a bowl of homemade soup for a balanced and satisfying meal.
Creative Ways to Present
Use your panini bread for bruschetta, garlic bread sticks, or even torn into chunks with dips to impress guests at any gathering or casual meal.
Make Ahead and Storage
Storing Leftovers
Store leftover panini bread in an airtight container or bread box at room temperature for up to two days to maintain freshness and texture.
Freezing
Wrap the bread tightly in plastic wrap and place it in a freezer bag to freeze for up to 3 months. Thaw at room temperature before use.
Reheating
Reheat stale panini bread in a preheated oven at 350°F for 5-7 minutes or toast slices in a panini press to regain crunchiness.
FAQs
Can I use whole wheat flour for this Panini Bread?
Absolutely! You can substitute part or all of the all-purpose flour with whole wheat flour, but expect a denser texture and a nuttier flavor.
How do I know if the yeast is still good?
If your yeast mixture bubbles and foams within 10 minutes of activation, it’s fresh and active; otherwise, it may be expired and should be replaced.
Is it possible to make Panini Bread without olive oil?
Yes, though olive oil adds moisture and flavor. If omitted, consider adding a bit more water or substituting with another vegetable oil for best results.
What is the best way to get a crispy crust on panini bread?
Creating steam in the oven during baking by placing a water-filled pan on the bottom rack helps develop a crispy, well-textured crust.
Can I bake panini bread in a bread machine?
Yes, many bread machines have dough cycles that can handle this recipe; just follow the machine’s instructions for baking afterward or bake in the oven for a crustier finish.
Final Thoughts
Making perfect panini bread at home is easier than you think, and once you experience the joy of biting into fresh, crispy, and soft panini bread you’ve made yourself, there’s no turning back. Give this recipe a try and watch your homemade sandwiches reach delicious new heights!
Related Posts
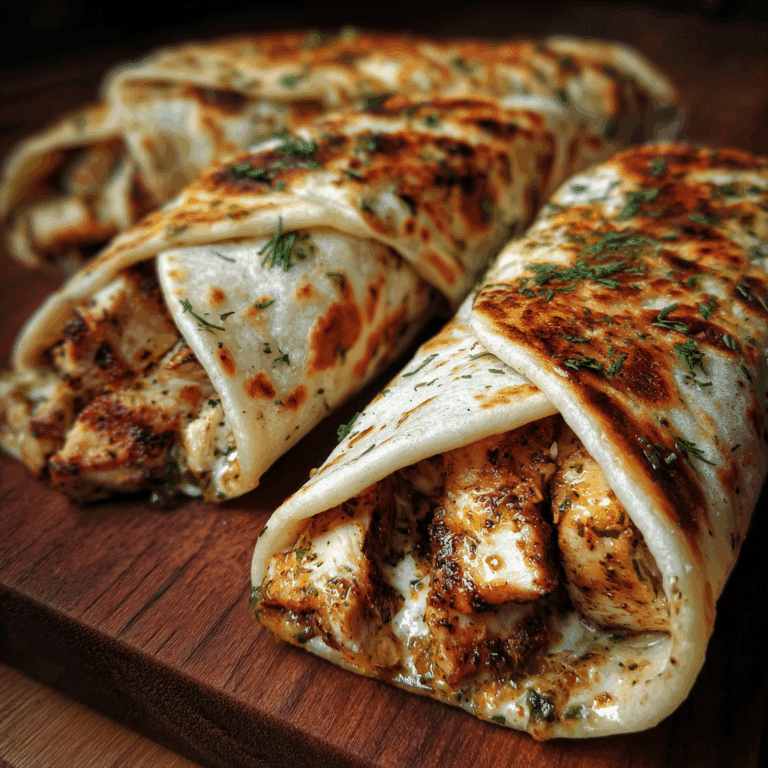
- How to Make Smash Chicken Burger with Spicy Mayo & Bacon
- Why Cheesy Garlic Chicken Wraps Are Irresistible
Panini Bread

This easy panini bread recipe guides you through creating soft, airy bread with a satisfyingly crispy crust. Using simple pantry ingredients, you’ll bake bakery-quality bread perfect for grilling, stuffing, or enjoying fresh. Ideal for beginners and customizable to suit any taste or dietary need, this homemade panini bread elevates your sandwiches and meals.
- Prep Time: 15 minutes
- Cook Time: 15-20 minutes
- Total Time: 2 to 2 ½ hours
- Yield: 1 loaf (serves 6-8) 1x
- Category: Appetizers
- Method: Baking
- Cuisine: Italian
- Diet: Can be adapted (Gluten Free if using GF flour blend)
Ingredients
Main Ingredients
- 3 ½ cups all-purpose flour (or substitute half with whole wheat flour)
- 1 ¼ cups warm water (about 110°F / 43°C)
- 2 ¼ teaspoons active dry yeast (1 packet)
- 2 tablespoons olive oil
- 1 tablespoon sugar
- 1 ½ teaspoons salt
Instructions
- Activate the Yeast: In a bowl, combine warm water, sugar, and active dry yeast. Stir gently and let it sit for 5-10 minutes until the mixture becomes foamy and bubbly, indicating the yeast is active.
- Mix the Ingredients: In a large mixing bowl, combine the flour and salt. Add the olive oil and gradually pour in the yeast mixture while mixing with a spoon or your hands until a rough dough forms.
- Knead the Dough: Transfer the dough to a floured surface and knead for 8-10 minutes until smooth, elastic, and slightly tacky but not sticky, which helps develop gluten for bread structure.
- First Rise: Place the dough in a lightly oiled bowl, cover with a clean kitchen towel or plastic wrap, and let rise in a warm place for 1 to 1.5 hours or until doubled in size.
- Shape the Dough: After the first rise, gently punch down the dough and shape it into a rough rectangle or oval, suitable for your panini press or sandwich style.
- Second Rise: Place the shaped dough on a parchment-lined baking sheet, cover again, and let it rise for another 30-45 minutes to develop an airy texture.
- Bake the Bread: Preheat your oven to 425°F (220°C). Bake the dough for 15-20 minutes until the crust is golden brown and crisp. For an extra crusty finish, create steam by misting water in the oven or placing a pan of water on the bottom rack.
- Cool and Enjoy: Remove the bread from the oven and allow it to cool completely on a wire rack before slicing and using for your favorite panini sandwiches.
Notes
- Use fresh yeast and check the expiration date to ensure good rise.
- Adjust flour or water as needed to maintain a soft but not sticky dough.
- Let the dough rise in a warm environment to promote yeast activity.
- Be patient with rising times to develop the best flavor and texture.
- Adding steam during baking results in a desirable crispy, blistered crust.
Nutrition
- Serving Size: 1 slice (1/12 of loaf approx.)
- Calories: 150
- Sugar: 1 g
- Sodium: 200 mg
- Fat: 3.5 g
- Saturated Fat: 0.5 g
- Unsaturated Fat: 3 g
- Trans Fat: 0 g
- Carbohydrates: 27 g
- Fiber: 1 g
- Protein: 4 g
- Cholesterol: 0 mg
Keywords: panini bread, homemade bread, crispy crust bread, sandwich bread, Italian bread, easy bread recipe