Fruity Pebbles Cheesecake Tacos
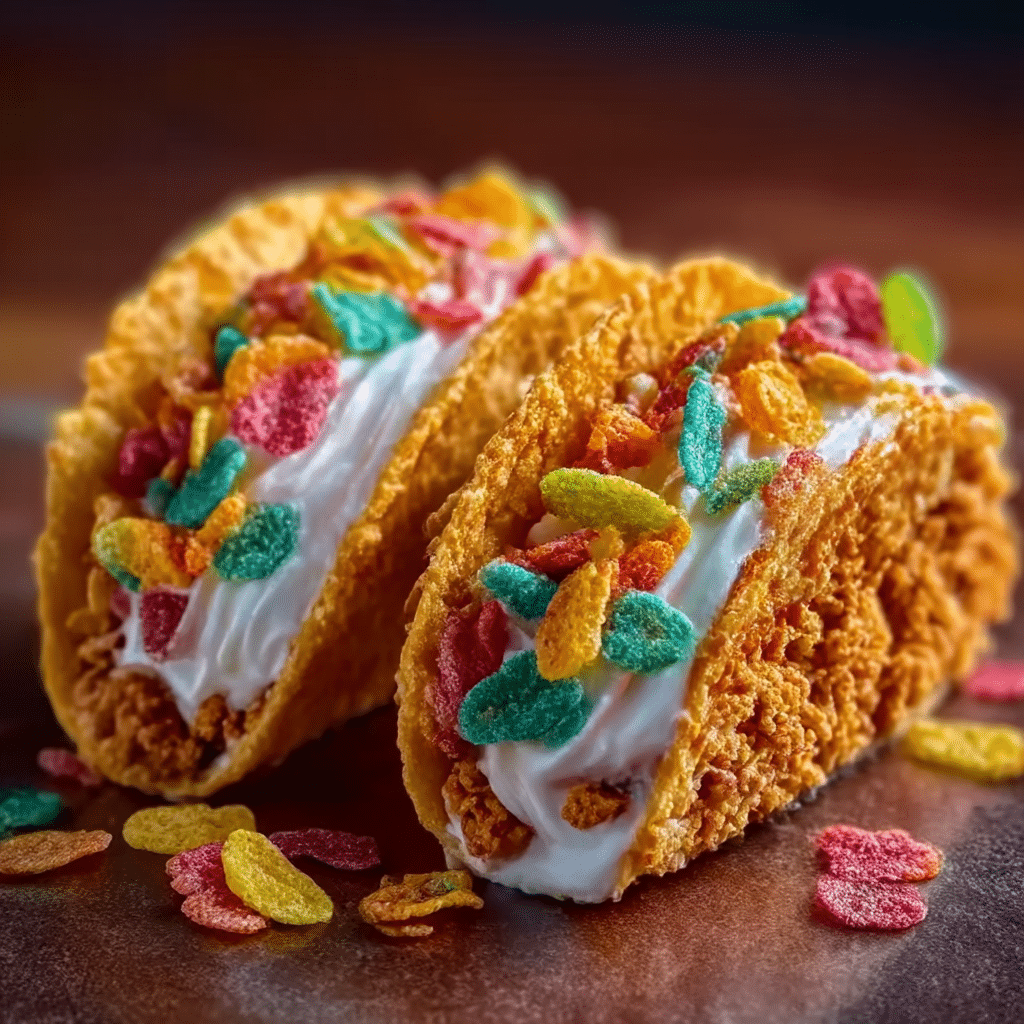
If you’re looking for a dessert that combines crunchy texture, creamy richness, and vibrant colors all in one bite, then Fruity Pebbles Cheesecake Tacos are exactly what you need to try next. This playful treat takes the nostalgic fun of Fruity Pebbles cereal and pairs it with smooth cheesecake filling, all nestled inside a crispy taco shell made from the cereal itself. It’s a delightful explosion of flavors and textures that’s sure to brighten up your day and satisfy your sweet tooth in the most exciting way.
Why You’ll Love This Recipe
- Fun and Vibrant: Fruity Pebbles add a colorful crunch that makes each taco eye-catching and irresistibly fun to eat.
- Creamy Yet Crunchy: The smooth cheesecake filling balances perfectly with the crisp taco shell, creating a wonderful texture contrast.
- Easy to Make: This recipe uses simple ingredients and requires minimal prep time—perfect for any skill level.
- Customizable: You can easily adjust the filling or toppings to fit your personal taste or dietary needs without losing its charm.
- Great for Any Occasion: Whether it’s a kids’ party, a casual get-together, or just a treat for yourself, these tacos always impress.
Ingredients You’ll Need
Gathering your ingredients is a breeze because they are straightforward yet essential for the perfect balance of flavor, texture, and vibrant color. Each component contributes uniquely, from the crunchy taco shell made of Fruity Pebbles to the rich cheesecake center.
- Fruity Pebbles cereal: The star of the show, providing the crunchy and colorful taco shell that brings fun to every bite.
- Cream cheese: Offers the creamy base for the cheesecake filling, ensuring a smooth and luscious texture.
- Heavy cream or whipped topping: Adds lightness and fluffy texture to the cheesecake filling.
- Powdered sugar: Sweetens the filling without graininess, perfectly balancing the tartness.
- Vanilla extract: Enhances the flavor profile with warm, aromatic notes.
- Butter: Helps bind the Fruity Pebbles and shapes them into taco shells by adding richness and sturdiness.
- Mini chocolate chips or fresh fruit (optional): Extra toppings for added flavor and decoration.
Variations for Fruity Pebbles Cheesecake Tacos
One of the best things about Fruity Pebbles Cheesecake Tacos is how easy they are to tweak and customize. Whether you want to swap ingredients for dietary reasons or experiment with different flavors, you can make this recipe truly your own.
- Dairy-Free Option: Use plant-based cream cheese and coconut whipped cream to keep it vegan-friendly.
- Fruit-Flavored Fillings: Mix in pureed berries or mango to add a fresh fruity twist to the cheesecake.
- Chocolate Lover’s Version: Add cocoa powder to the filling or drizzle melted chocolate over the tacos before serving.
- Mini Taco Size: Create bite-sized Fruity Pebbles Cheesecake Tacos as fun party appetizers or snacks.
- Spiced Up: Add a pinch of cinnamon or pumpkin spice to the filling for a cozy, seasonal touch.

How to Make Fruity Pebbles Cheesecake Tacos
Step 1: Prepare the Fruity Pebbles Taco Shells
Start by melting the butter and mixing it thoroughly with the Fruity Pebbles cereal in a bowl. Press the mixture firmly into a taco-shaped mold or form half-moons on a baking sheet lined with parchment paper. Chill or gently bake just enough to set the shape without losing crunch.
Step 2: Make the Cheesecake Filling
In a mixing bowl, beat the cream cheese until smooth. Add powdered sugar and vanilla extract, then slowly fold in the whipped topping or heavy cream to create a light, fluffy cheesecake mixture.
Step 3: Assemble the Tacos
Once the Fruity Pebbles shells have hardened and cooled, use a spoon or a piping bag to fill each shell with the cheesecake mixture. Add any optional toppings like mini chocolate chips or fresh fruit to finish.
Step 4: Chill and Serve
Place the assembled tacos in the fridge for at least an hour to allow the filling to firm up slightly. Serve cold for a refreshing, indulgent dessert experience.
Pro Tips for Making Fruity Pebbles Cheesecake Tacos
- Shell Molding: Use a clean taco mold or shape the shells around a small rolling pin to get perfect curves.
- Press Firmly: When mixing cereal with butter, press firmly to ensure the shell binds well and holds shape.
- Chill Thoroughly: Refrigerate shells before filling to keep them crisp and avoid sogginess.
- Filling Consistency: Aim for a filling that’s fluffy but stable enough to hold its shape when piped or scooped.
- Make Ahead: Prepare shells a day in advance and keep filling chilled until ready to assemble for convenient dessert prep.
How to Serve Fruity Pebbles Cheesecake Tacos
Garnishes
Sprinkle extra Fruity Pebbles on top for crunch, add colorful fresh berries, or drizzle with honey or melted chocolate for a finishing touch that elevates presentation and flavor.
Side Dishes
Serve alongside a scoop of vanilla ice cream, fresh fruit salad, or a light lemon sorbet to complement the sweetness and add a refreshing balance.
Creative Ways to Present
Arrange them on a vibrant platter with edible flowers for a festive look, or stack mini tacos in a fun “dessert taco tower” for parties and gatherings that wow guests visually and taste-wise.
Make Ahead and Storage
Storing Leftovers
Keep assembled Fruity Pebbles Cheesecake Tacos in an airtight container in the refrigerator for up to three days to maintain freshness and prevent sogginess.
Freezing
While you can freeze the cereal shells separately, it’s best not to freeze the filled tacos as the cheesecake filling’s texture may change. Freeze shells wrapped well for up to a month.
Reheating
If you want to enjoy the shells warm, briefly heat them in the oven before filling, but avoid reheating filled tacos to keep the cheesecake smooth and cool.
FAQs
Can I use other cereals instead of Fruity Pebbles?
Absolutely! You can experiment with colorful cereals like Fruity Rings or Cocoa Pebbles to create different flavors and textures, but Fruity Pebbles remain the classic choice for this recipe.
Is this recipe kid-friendly?
Yes, it’s perfect for kids! The bright colors and sweet, creamy filling make Fruity Pebbles Cheesecake Tacos a fun and approachable dessert for children and adults alike.
How long does it take to make these tacos?
Preparation usually takes around 20 to 30 minutes, plus chilling time for the shells and filling, which ensures a quick yet impressive dessert option.
Can I make these dairy-free?
Yes, by substituting regular cream cheese with vegan cream cheese and using coconut-based whipped toppings, you can make a delicious dairy-free version.
What’s the best way to store assembled tacos for a party?
Store them covered in the fridge and assemble toppings right before serving to keep everything fresh and crunchy throughout your event.
Final Thoughts
Fruity Pebbles Cheesecake Tacos are an absolute game-changer when it comes to playful, tasty desserts. Their blend of creamy cheesecake and vibrant cereal crunch will quickly become your go-to treat to enjoy or serve for any occasion. Give this recipe a try and watch how this colorful, delightful dessert steals the show every time!
Related Posts
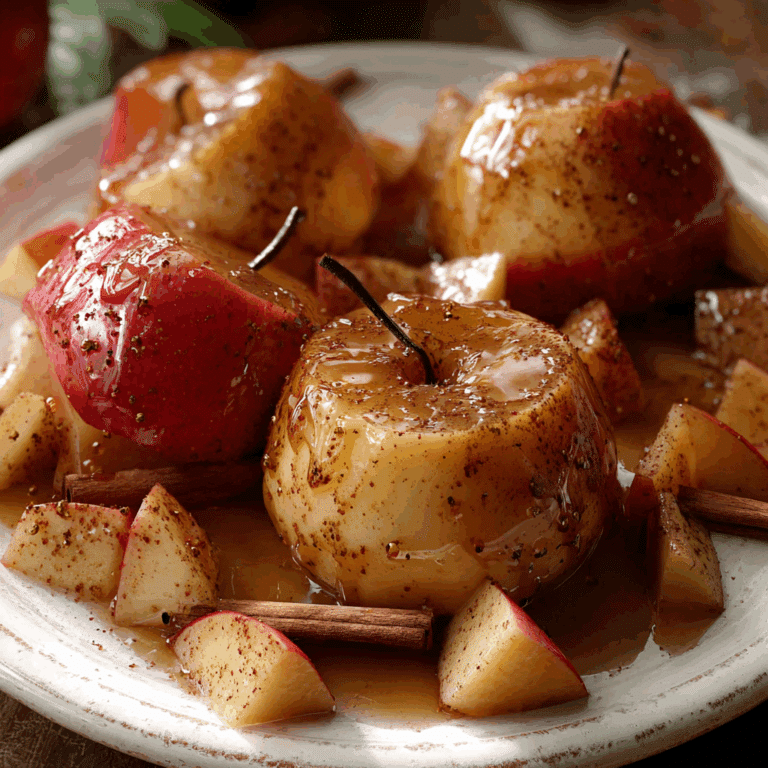
- 5 Easy Ways to Enjoy Cinnamon Apples
- Why Caramel Banana Nuts Tacos Are Irresistible
- Irresistible Biscoff Truffle Bites Recipe
Fruity Pebbles Cheesecake Tacos

Fruity Pebbles Cheesecake Tacos combine the colorful crunch of Fruity Pebbles cereal with a smooth, creamy cheesecake filling, all nestled inside a crispy taco shell made from the cereal itself. This playful and vibrant dessert offers a delightful texture contrast and is easy to make, customizable, and perfect for any occasion.
- Prep Time: 15 minutes
- Cook Time: 5 minutes (optional gentle baking)
- Total Time: 1 hour 20 minutes (including chilling time)
- Yield: 6 tacos 1x
- Category: Appetizers
- Method: Baking
- Diet: Gluten Free
Ingredients
Shell Ingredients
- 2 cups Fruity Pebbles cereal
- 3 tablespoons unsalted butter, melted
Cheesecake Filling Ingredients
- 8 oz cream cheese, softened
- 1 cup heavy cream or whipped topping
- 1/2 cup powdered sugar
- 1 teaspoon vanilla extract
Optional Toppings
- Mini chocolate chips
- Fresh fruit (such as berries)
Instructions
- Prepare the Fruity Pebbles Taco Shells: Melt the butter and mix it thoroughly with the Fruity Pebbles cereal in a bowl. Press the mixture firmly into a taco-shaped mold or shape half-moons on a parchment-lined baking sheet. Chill or gently bake just enough to set the shape without losing crunch.
- Make the Cheesecake Filling: In a mixing bowl, beat the softened cream cheese until smooth. Add powdered sugar and vanilla extract, then slowly fold in the whipped topping or heavy cream to create a light, fluffy cheesecake mixture.
- Assemble the Tacos: Once the Fruity Pebbles shells have hardened and cooled, use a spoon or piping bag to fill each shell with the cheesecake mixture. Add optional toppings like mini chocolate chips or fresh fruit as desired.
- Chill and Serve: Place the assembled tacos in the refrigerator for at least one hour to allow the filling to firm up slightly. Serve cold for a refreshing and indulgent dessert experience.
Notes
- Use a clean taco mold or shape shells around a small rolling pin for perfect curves.
- Press the cereal and butter mixture firmly to bind well and hold shape.
- Refrigerate shells before filling to keep them crisp and avoid sogginess.
- Aim for a fluffy but stable cheesecake filling for easy piping or scooping.
- Prepare shells a day ahead and keep filling chilled for convenient assembly.
- Store assembled tacos in an airtight container in the fridge for up to three days.
- Freeze unfilled shells wrapped well for up to a month; avoid freezing filled tacos.
- Briefly warm shells in the oven if preferred, but do not reheat filled tacos.
Nutrition
- Serving Size: 1 taco
- Calories: 250
- Sugar: 18g
- Sodium: 150mg
- Fat: 15g
- Saturated Fat: 9g
- Unsaturated Fat: 5g
- Trans Fat: 0g
- Carbohydrates: 22g
- Fiber: 0.5g
- Protein: 3g
- Cholesterol: 40mg
Keywords: Fruity Pebbles Cheesecake Tacos, dessert taco, colorful dessert, no-bake cheesecake, crunchy taco shell, fun dessert, gluten free dessert