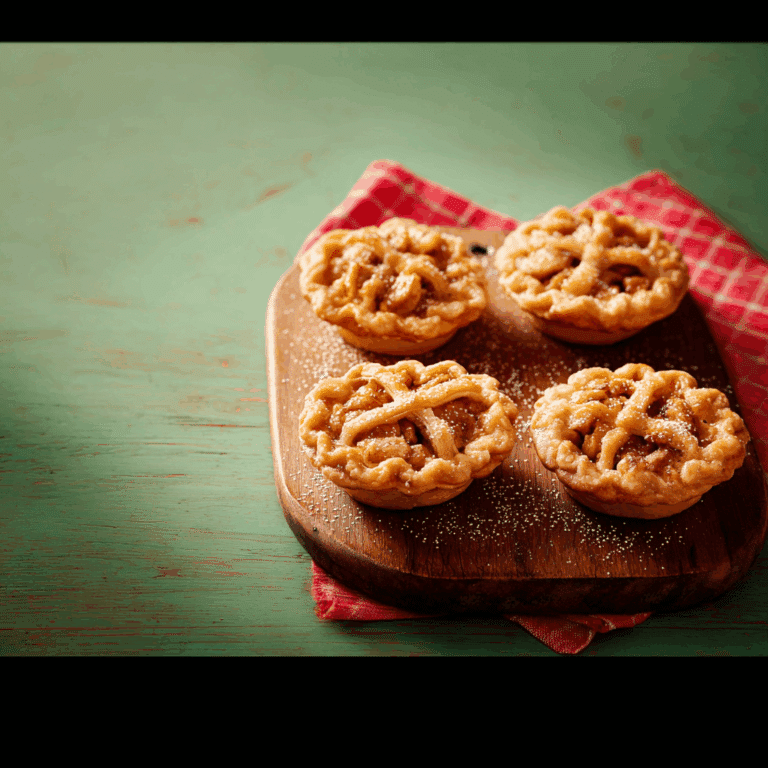
How to Make the Perfect Cheese Danish

Discover the joy of making the perfect Cheese Danish right in your own kitchen! This classic pastry combines flaky, buttery layers with a dreamy, creamy cheese filling that balances sweetness and tang beautifully. Whether you’re treating yourself for breakfast or impressing guests at brunch, this Cheese Danish recipe offers a satisfying homemade alternative to store-bought versions, delivering irresistible flavor and texture with each bite.
Why You’ll Love This Recipe
- Homemade goodness: Enjoy fresh, from-scratch pastry that’s flaky and light, unlike anything from a box.
- Perfect balance: The creamy cheese filling complements the buttery crust for a harmonious blend of flavors and textures.
- Impressive yet simple: This step-by-step recipe is beginner-friendly but yields bakery-quality results.
- Versatile treat: Ideal for breakfast, brunch, or dessert, making it a crowd-pleaser any time of day.
- Customizable flavors: Easily adapt the filling or toppings to suit your taste preferences or dietary needs.
Ingredients You’ll Need
These simple yet essential ingredients come together to build the perfect Cheese Danish—each playing a crucial role in creating that airy, flaky pastry and rich, smooth filling.
- All-purpose flour: The foundation for flaky pastry that holds its structure without toughness.
- Cold unsalted butter: Key for creating delicate layers; keeps the pastry tender and flaky.
- Granulated sugar: Adds just the right amount of sweetness to the dough and filling.
- Cream cheese: Provides the creamy, tangy center that defines the Cheese Danish.
- Egg yolks: Give richness to the filling and help with a golden glaze on the pastry.
- Vanilla extract: Adds depth of flavor to the cheese filling with warm, sweet notes.
- Milk or heavy cream: Moistens the dough and ensures a smooth, luscious filling.
- Fresh lemon juice or zest: Brightens the filling with a touch of freshness and balances the rich cream cheese.
- Optional icing sugar glaze: For that classic shiny finish and a beautiful touch of sweetness.
Variations for Cheese Danish
This Cheese Danish recipe is a perfect canvas for creativity, welcoming tweaks to suit personal taste or dietary preferences easily.
- Fruit twist: Add fresh or preserved fruits like blueberries, raspberry jam, or sliced apples on top of the cheese filling before baking.
- Nutty crunch: Sprinkle chopped almonds, pecans, or walnuts to introduce delightful texture contrasts.
- Spiced filling: Mix cinnamon, nutmeg, or cardamom into the cream cheese for a warm, cozy profile.
- Gluten-free option: Use a gluten-free flour blend designed for pastries, ensuring the flaky texture remains.
- Vegan adaptation: Replace butter with coconut oil, cream cheese with a plant-based alternative, and use flax eggs instead of regular eggs.

How to Make Cheese Danish
Step 1: Prepare the Dough
Start by combining the flour and a pinch of salt in a large bowl. Cut in cold unsalted butter until the mixture resembles coarse crumbs with visible pea-sized pieces of butter. Add cold milk or cream and gently combine until the dough starts to come together. Wrap in plastic and chill for at least an hour to let the butter firm up again for optimal flakiness.
Step 2: Make the Cream Cheese Filling
While the dough chills, whip together softened cream cheese, sugar, egg yolks, vanilla extract, and a splash of fresh lemon juice or zest. Mix until silky smooth and creamy, making sure no lumps remain for a velvety filling in your Danish.
Step 3: Roll and Shape the Pastry
On a lightly floured surface, roll out the dough into a large rectangle about 1/4 inch thick. Cut into squares or rectangles depending on your preferred shape. Place a generous dollop of the cream cheese filling in the center of each piece, then carefully fold or pinch the edges to create a neat envelope or open-top Danish.
Step 4: Bake to Golden Perfection
Arrange the prepared Danish on a baking sheet lined with parchment paper. Brush the tops with an egg wash made from beaten egg yolk mixed with a little water to achieve a shiny, golden crust. Bake in a preheated oven at 375°F (190°C) for 18-22 minutes until puffed and beautifully browned.
Step 5: Add the Finishing Touch
After cooling slightly, finish your Cheese Danish with a drizzle of icing sugar glaze or a sprinkle of powdered sugar. This adds sweetness and a polished look that elevates your homemade pastry.
Pro Tips for Making Cheese Danish
- Cold ingredients: Keep butter and liquids chilled to ensure the dough stays flaky and layers puff up properly.
- Don’t overwork dough: Handle it gently and only as much as needed to avoid developing gluten, which can make pastry tough.
- Even rolling: Roll dough evenly to guarantee consistent baking and a uniform texture.
- Use high-quality cream cheese: The filling’s flavor and texture depend heavily on this ingredient.
- Chill before baking: Refrigerate assembled Danish briefly to keep the shape intact during baking and encourage a golden crust.
- Watch baking time: Oven temps vary, so check near the end to avoid burning or undercooking.
How to Serve Cheese Danish
Garnishes
Top your Cheese Danish with fresh berries, a dusting of powdered sugar, or a simple vanilla glaze for an extra touch of elegance and flavor that complements the creamy filling.
Side Dishes
Pair the Cheese Danish with a hot cup of coffee or tea for a perfect breakfast treat. It also goes wonderfully with fresh fruit salad or yogurt to balance richness with freshness.
Creative Ways to Present
Arrange multiple Cheese Danish on a decorative platter with garnishes like edible flowers or mint leaves for a brunch centerpiece. For individual servings, place each Danish in a pretty wrapper or cupcake liner for grab-and-go convenience.
Make Ahead and Storage
Storing Leftovers
Store leftover Cheese Danish in an airtight container at room temperature for up to two days to preserve freshness. Keeping them covered prevents the pastry from drying out while maintaining the soft, creamy filling.
Freezing
Freeze unbaked Danish on a baking sheet until solid, then transfer to a freezer-safe bag or container for up to three months. Bake directly from frozen, adding a few extra minutes to the baking time for convenience and freshness whenever you crave them.
Reheating
Reheat leftover Cheese Danish in a preheated oven at 325°F (160°C) for 5-10 minutes to restore crispiness and warm the filling gently. Avoid the microwave to prevent sogginess and loss of flakiness.
FAQs
Can I use store-bought puff pastry instead of making dough from scratch?
Absolutely! Using store-bought puff pastry can save time and still yield deliciously flaky Cheese Danish, though homemade dough offers a more personalized taste and texture.
What type of cream cheese works best for the filling?
Full-fat, block-style cream cheese is ideal because it gives the filling a smooth, rich texture and tangy flavor essential for authentic Cheese Danish.
How long can I store Cheese Danish after baking?
For best flavor and texture, enjoy within two days when stored in an airtight container at room temperature, or freeze to extend shelf life.
Can I make Cheese Danish vegan?
Yes, by swapping butter for plant-based fats, cream cheese with a vegan alternative, and egg yolks with flax or chia egg substitutes, you can create a delicious vegan Cheese Danish.
Is it necessary to add lemon juice or zest to the filling?
While optional, lemon adds brightness that balances the richness of the cream cheese, enhancing the overall flavor profile beautifully.
Final Thoughts
Making a Cheese Danish at home might just become your new favorite kitchen adventure! With flaky, buttery pastry and a luscious, creamy filling, this recipe brings the warmth and comfort of a bakery treat right to your table. Embrace the process, customize the flavors your way, and indulge in every delightful bite. Your perfect Cheese Danish awaits, ready to impress and satisfy anytime.
Related Posts
- Easy Cheesecake Fruit Salad Roll Ups You’ll Love
- Why Peach Cobbler Cheesecake Steals the Show
- Irresistible Strawberry Mango Margarita Cupcakes Treat
Cheese Danish
Experience the delight of homemade Cheese Danish, featuring flaky, buttery pastry layers paired with a smooth, creamy cheese filling that perfectly balances sweetness and tang. This beginner-friendly recipe yields bakery-quality results ideal for breakfast, brunch, or dessert, allowing customization to fit your taste or dietary needs.
- Prep Time: 20 minutes plus 1 hour chilling time
- Cook Time: 18-22 minutes
- Total Time: 1 hour 40 minutes
- Yield: 8-10 Cheese Danishes 1x
- Category: Breakfast, Brunch, Dessert
- Method: Baking
- Cuisine: Danish / European
- Diet: Gluten Free option available with substitution
Ingredients
For the Dough
- 2 ½ cups all-purpose flour
- 1 teaspoon salt
- 1 cup cold unsalted butter, cubed
- ½ cup cold milk or heavy cream
For the Cream Cheese Filling
- 8 ounces cream cheese, softened
- ⅓ cup granulated sugar
- 2 egg yolks
- 1 teaspoon vanilla extract
- 1 tablespoon fresh lemon juice or zest
For the Topping and Finishing
- 1 egg yolk (for egg wash)
- 1 tablespoon water (for egg wash)
- Optional icing sugar glaze or powdered sugar for garnish
Instructions
- Prepare the Dough: Combine flour and salt in a large bowl. Cut in the cold unsalted butter until the mixture looks like coarse crumbs with visible pea-sized butter pieces. Add cold milk or heavy cream and gently mix until the dough just begins to form. Wrap the dough in plastic wrap and chill for at least one hour to allow the butter to firm up again, ensuring optimal flakiness.
- Make the Cream Cheese Filling: While the dough chills, beat together softened cream cheese, sugar, egg yolks, vanilla extract, and fresh lemon juice or zest until smooth and creamy with no lumps, creating a velvety filling for the Danish.
- Roll and Shape the Pastry: On a lightly floured surface, roll the chilled dough into a rectangle about ¼ inch thick. Cut into squares or rectangles according to your preference. Place a generous spoonful of cream cheese filling in the center of each piece, then fold or pinch the edges to form neat envelopes or open-top Danish shapes.
- Bake to Golden Perfection: Place the prepared Danish on a parchment-lined baking sheet. Brush the tops with an egg wash made from one beaten egg yolk mixed with water to achieve a shiny, golden crust. Bake in a preheated oven at 375°F (190°C) for 18–22 minutes, or until puffed and golden brown.
- Add the Finishing Touch: After cooling slightly, drizzle the Danish with icing sugar glaze or sprinkle powdered sugar for added sweetness and an attractive finish.
Notes
- Keep all ingredients cold for flakier pastry layers.
- Handle dough gently and minimally to avoid toughening the pastry.
- Roll dough evenly for consistent baking and texture.
- Use high-quality full-fat cream cheese for the best filling flavor and texture.
- Chill assembled Danish briefly before baking to maintain shape and promote browning.
- Check baking progress near the end to prevent burning or undercooking.
Nutrition
- Serving Size: 1 Danish
- Calories: 320
- Sugar: 15g
- Sodium: 220mg
- Fat: 20g
- Saturated Fat: 12g
- Unsaturated Fat: 7g
- Trans Fat: 0g
- Carbohydrates: 25g
- Fiber: 1g
- Protein: 5g
- Cholesterol: 95mg
Keywords: Cheese Danish, homemade pastry, cream cheese filling, breakfast pastry, brunch dessert, flaky pastry, easy Danish recipe


